Designing an outdoor kitchen is easier when you stop thinking about individual gadgets and start thinking about how you move. Every great space follows the same rhythm: Prep → Cook → Serve → Seat. Get those four zones in the right order, give each what it needs, and the garden starts working like a calm, generous room you use all year.
Outdoor Kitchen Zone 1: PREP
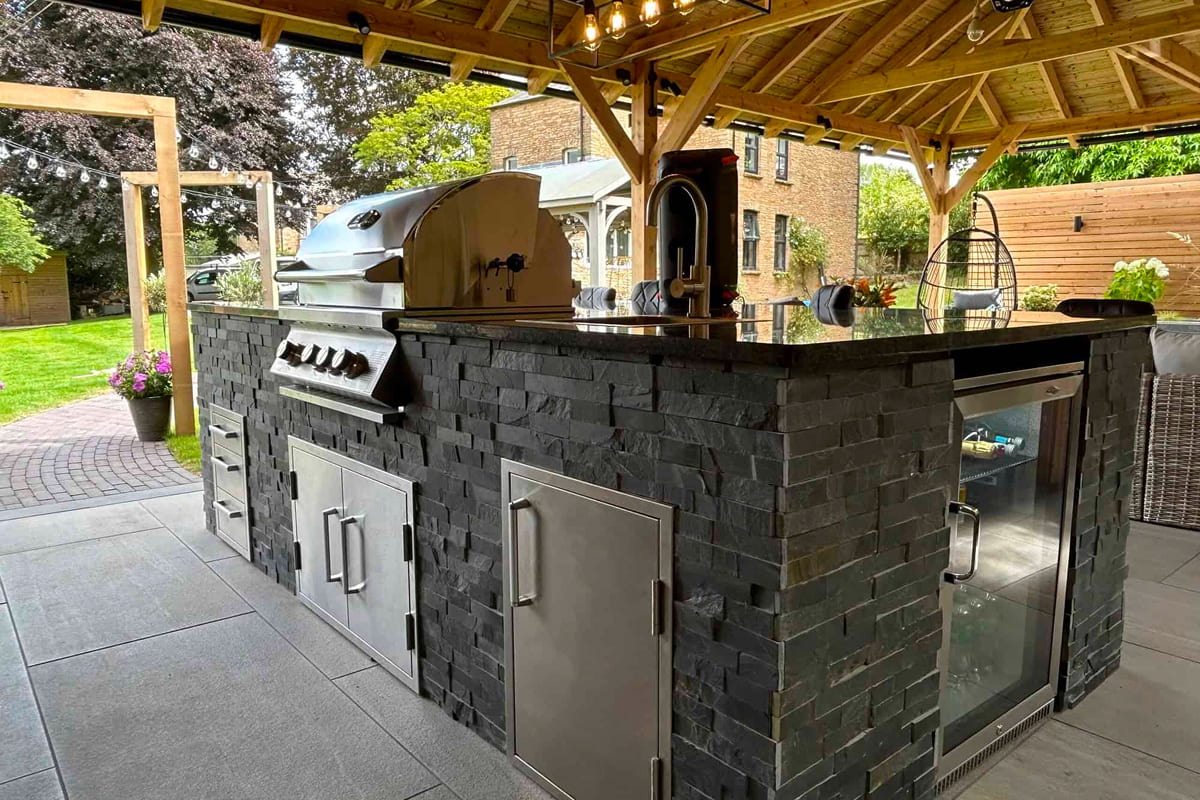
Prep is where the evening actually begins. It’s your clean, cool runway for chopping herbs, marinating chicken, and tasting dressings with a smug little grin. Give it breathing room and your whole night slows to the right pace.
Think generous counter space in a mid-tone stone that hides day-to-day life; knives and tongs in the top drawer, boards and bowls below, cleaning kit tucked out of sight. A compact sink is a luxury that pays you back every time—fast rinses, clean hands, salad leaves crisping while the grill comes to temperature. A single focused task light above the board is worth its weight in gold; it turns “good enough” into “perfect” at the last second.
If the prep area feels like a juggling act, everything downstream gets harder. Aim for a metre or more of clear counter beside your main cooker and you’ll plate with ease rather than panic.
Outdoor Kitchen Zone 2: COOK

This is your hot zone but it should behave beautifully. Place the cooker at the edge of the terrace so heat, smoke and excitement drift away from the crowd, not through it. Let the prevailing breeze do the he
avy lifting; lids-down cooking and dry fuel keep aromas friendly on school nights.
Choose a primary heat source that fits your actual routine. Gas for quick, controlled weeknights. A ceramic charcoal cooker when you love a slow Saturday and wood-smoke whisper. A plancha or induction plate when you want steak-kissed crusts with hardly any plume. Whatever you choose, keep a landing shelf on both sides so trays have somewhere to land and tempers never flare.
Tools live here: probe thermometer, long tongs, a rigid spatula, heat proof gloves. When the grill is ready, you don’t want a treasure hunt.
Outdoor Kitchen Zone 3: SERVE
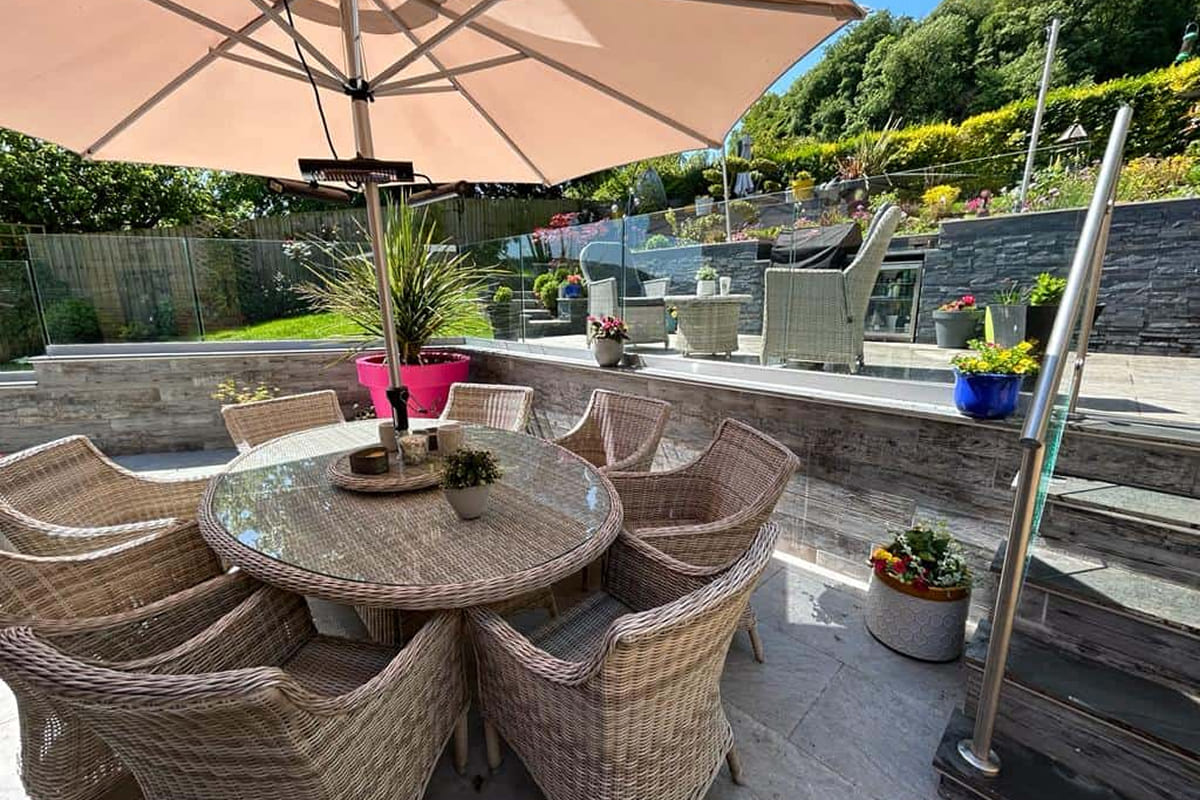
Every great host has a little stage—somewhere between the heat and the table where food pauses, plates stack and friends help themselves. That’s your Serve zone, and it’s the polite pause that turns cooking into entertaining.
Picture a slim stone “pass” with bowls of lemon wedges, flaky salt, olives in a little dish, and a jug of cold water waiting its turn. Add a narrow shelf for condiments and napkins so the main counter stays clear. Guests drift over, plate in hand, and you’re free to focus on the next course instead of weaving through chairs like a waiter.
If space is tight, a trolley is your secret weapon. Plate near the grill, wheel to the table, park with a flourish.
Outdoor Kitchen Zone 4: SEAT
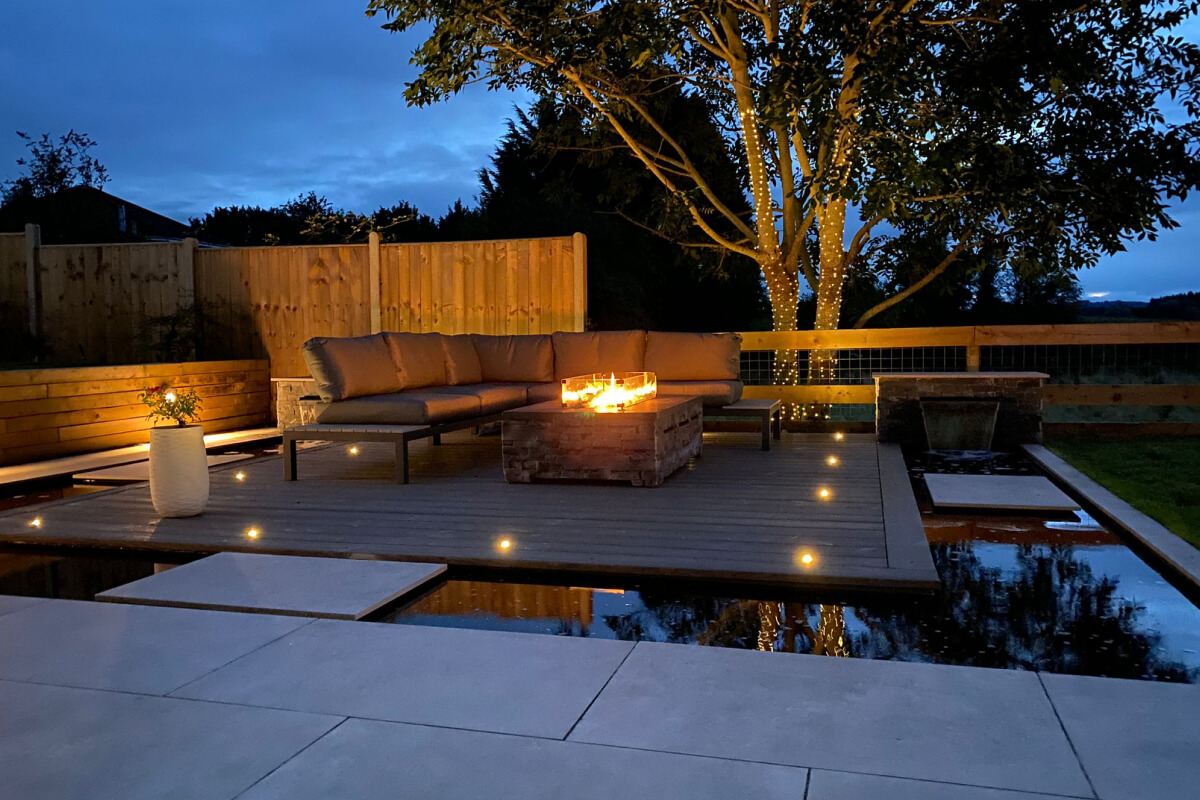
The best tables make people exhale. Chairs that invite lingering, cushions that shrug off a drizzle, and just enough room to push back without catching a planter. In a corner, a built-in bench with a slim ledge for glasses is the crowd-pleaser that always earns its keep.
Light it like you mean it. Keep a focused beam where you cook and prep; wash a wall or an olive tree softly for depth; dot low markers along steps so late-night feet find their way without fuss. Warm white around 2700–3000 K makes stone glow, timber look expensive, and dinner ridiculously photogenic.
Shade is style. A louvred roof or sail sets the mood, softens glare, and stretches the season. Add discreet radiant panels aimed at bodies, not air, and you’ve just won spring and autumn.